Discover a World of Art & Literature in Greenock!
Join us for an extraordinary cultural celebration at the brand new West End Gallery in Greenock! For two days only, immerse yourself in a captivating
Join us for an extraordinary cultural celebration at the brand new West End Gallery in Greenock! For two days only, immerse yourself in a captivating
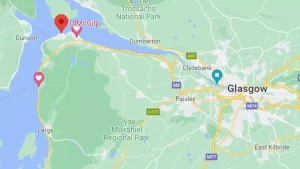
I’ve some exciting news! I’ll be holding my first pop up art exhibition. I’m delighted to say that this show will be in McGilps, Kempock

Scotland is a country steeped in history and culture. From the rugged highlands to the bustling cities, Scotland has inspired countless artists throughout the years.

Abstract Expressionism is a movement that is as vibrant today as it was a century ago when it first emerged in New York. This article